Introduction
Apache virtual hosts are an efficient method for hosting multiple websites using a single web server and an IP address. When the Apache server receives a request on a virtual host system, it reads the hostname reported in the client's HTTP header and uses it to direct the traffic to the correct domain.
This tutorial shows how to set up Apache Virtual Hosts on Ubuntu.

Prerequisites
- Command-line access.
- Root privileges.
- Apache web server installed.
- A domain pointing to the public IP address of the server.
Set up Name-Based Apache Virtual Hosts on Ubuntu
Running an Apache virtual host on Ubuntu requires setting up a dedicated directory for website data and creating a configuration file in the Apache sites-available directory. Follow the procedure below to create a name-based virtual host on Ubuntu.
Step 1: Enable Apache Modules
Before configuring and starting a virtual host, ensure that the mod_rewrite module is enabled. The module allows rule-based rewriting of URL requests and provides a mechanism for setting up virtual hosts.
Enable mod_rewrite by executing the following command:

Restart the Apache web server for the changes to take effect:
If successful, the command provides no output.
Step 2: Create Directories
Each virtual host needs a directory for storing website-related data. Create the main directory and the public_html subdirectory by entering the following command:
Replace [domain] with the domain name for the virtual host. The command below creates directories for the example.com domain:
Step 3: Create Website Files
The public_html subdirectory contains all the website data that Apache serves for the specific virtual host. The procedure below describes how to create a single index.html file for testing purposes:
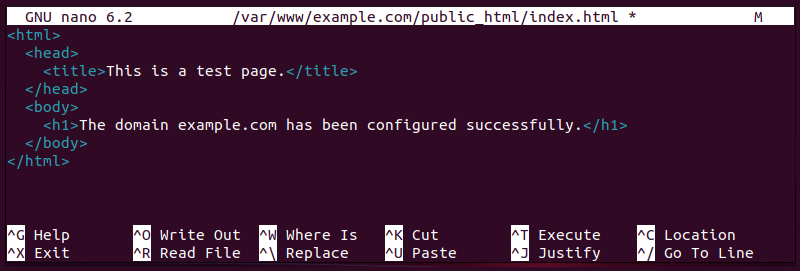
1. Create index.html using a text editor. This article uses Nano:
2. Add the following sample HTML:
3. Save and exit the file.
Step 4: Change Directory Ownership and Permissions
Prevent any permission-related issues by setting the ownership of the domain's root directory to the current user. Perform this action by executing the steps below:
1. Enter the following chown command:
2. Use the chmod command to grant the write permissions only for the current user:
Step 5: Create Virtual Host Configuration File
Apache Virtual Host configuration files are stored in the /etc/apache2/sites-available directory. Proceed with the steps below to create and set up a configuration file for a virtual host:
1. Use a text editor to create a conf file.
There is no rule for naming the file, but the best practice is to name it the same as the domain it describes. For example, if the file configures example.com, create the file named example.com.conf:
2. Add the following configuration block to create a basic configuration file:
Replace [domain] with the virtual host's domain name:
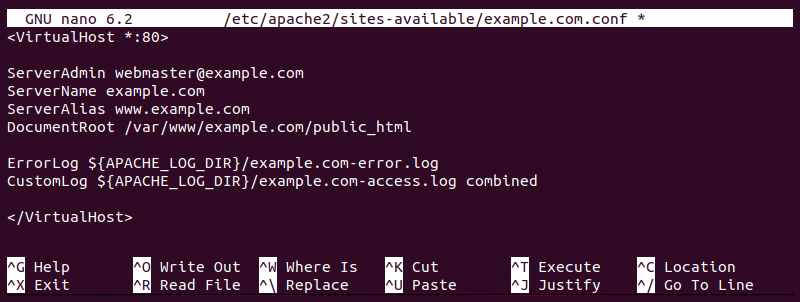
The file contains the following values:
- ServerAdmin - The administrator's email address.
- ServerName - The domain name.
- ServerAlias - All other domain aliases and subdomains.
- DocumentRoot - The directory for serving website files.
- ErrorLog, CustomLog - The log files locations.
3. Save the file and exit.
Step 6: Enable Virtual Host
Enable the virtual host by creating a symbolic link from the configuration file to the sites-enabled directory:
1. Use the following a2ensite command to enable the virtual host:
Apache reads the configuration file and enables the website.

2. Verify the configuration file syntax by entering the following command:
If the syntax is correct, the output confirms it.

3. Restart Apache to apply the changes:
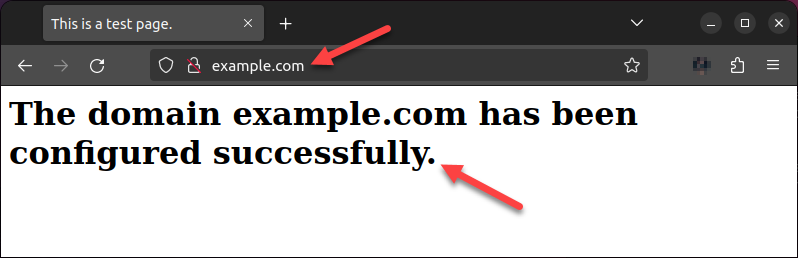
4. Go to a web browser and access the website. The browser shows the website's index.html.
Note: To create additional virtual hosts, repeat Step 2 to Step 6 for each new host.
Step 7: Disable Default Virtual Host (Optional)
Apache default virtual host handles requests that do not match any other available server configuration. The default host is configured and enabled when the user installs Apache web server on the system.
If the default virtual host is disabled, Apache rejects the requests that do not match any configured virtual hosts. This setting increases security and allows the user to enforce stricter control over the server's behavior.
To disable the default virtual host, use the a2dissite command:

Then, reload the server for the changes to take effect:
Step 8: Configure UFW Firewall (Optional)
Enabling a firewall increases security and prevents malicious or unnecessary network traffic. Follow the steps below to enable Ubuntu's default UFW firewall and set it up to allow Apache.
1. Enter the following command to enable the firewall.

2. Add the rules to allow access to Apache.

UFW now lets the Apache traffic pass through the firewall.
Conclusion
By following the steps of this tutorial, you have successfully created and configured an Apache virtual host on Ubuntu. You can now create name-based virtual hosts and use one IP address to host multiple domains on a single server.
Another way to run multiple Apache instances on a single server is to use Docker containers. Read our tutorial to learn how to install Apache in Docker.