Introduction
Node.js is an open-source, cross-platform runtime environment for JavaScript (JS). It is lightweight, efficient, promotes consistent, integrated development, and is used to build fast and scalable network applications.
The Node Package Manager (npm) is the official package manager for Node.js. It is used to install and manage package dependencies efficiently.
This guide will explain how to install Node.js and npm on CentOS and Rocky Linux. It will also elaborate on how to manage multiple Node versions.
Prerequisites
- A CentOS or Rocky Linux system.
- Access to the terminal.
- The yum package manager, included by default
- An account with sudo or root privileges.
Option 1: Install Node.js and npm from NodeSource Repository
The simplest way to install Node.js and npm is from the NodeSource repository, which provides up-to-date versions tailored for your system. This method ensures you get the latest features, performance improvements, and security patches for Node.js and npm.
To accomplish that, take the following steps:
1. Update the local repository to ensure you install the latest versions of Node.js and npm:
sudo yum update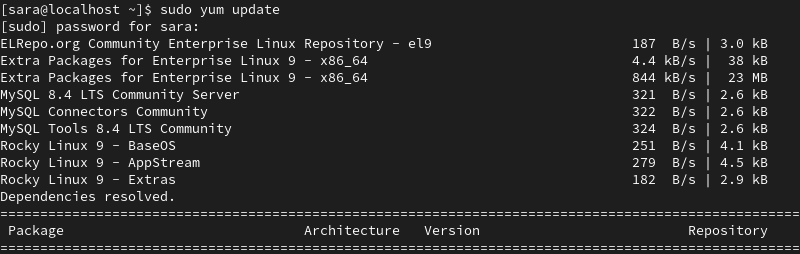
2. Add the NodeSource repository to the system with curl:
curl -sL https://rpm.nodesource.com/setup_23.x | sudo bash -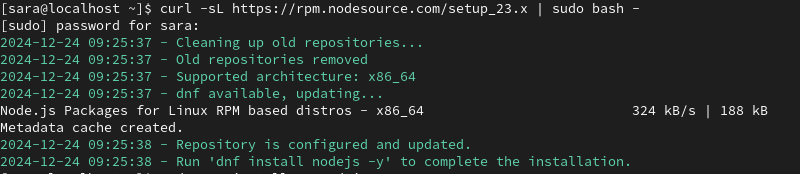
Note: Check the latest version on the Node.js website.
3. To install Node.js and npm, run the following command:
sudo yum install -y nodejs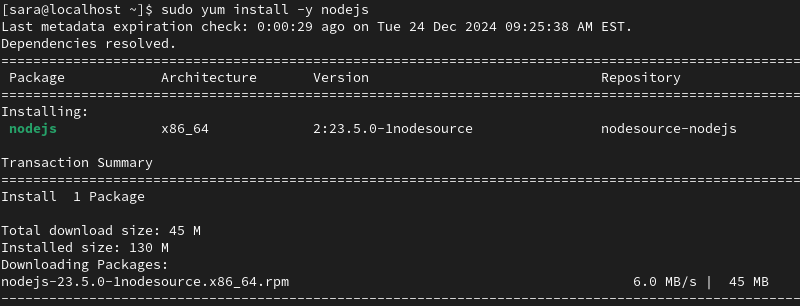
4. Verify the installed software with these commands:
node --version
npm --version
The system downloaded the latest versions of Node.js npm.
Option 2: Install Node.js and npm Using NVM
Node Version Manager (NVM) is a versatile tool that simplifies managing multiple Node.js versions on a single system. This method is meant for developers who switch between different Node.js versions for various projects.
To install Node.js and npm this way, take the following steps.
Step 1: Install Node Version Manager (NVM)
Node Version Manager (NVM) is a tool practical for managing multiple Node.js versions. Install it by taking the following steps:
1. Download the installation script from GitHub with the command:
curl -o- https://raw.githubusercontent.com/nvm-sh/nvm/v0.40.1/install.sh | bash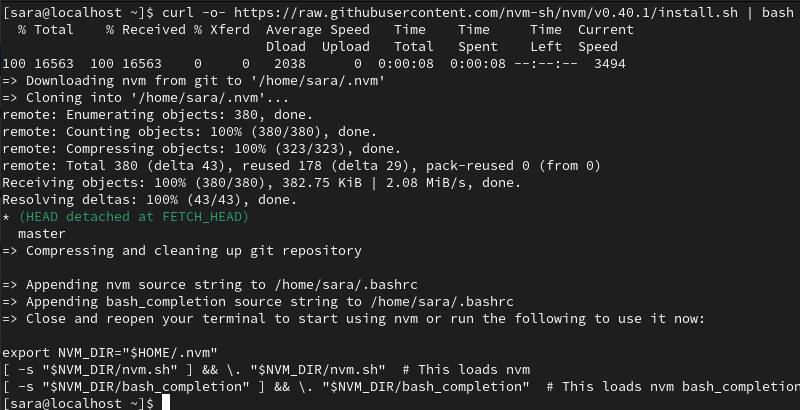
This command downloads and executes the NVM installation script.
2. To activate NVM, add it to your shell profile. Run the following command:
export NVM_DIR="$([ -z "${XDG_CONFIG_HOME-}" ] && printf %s "${HOME}/.nvm" || printf %s "${XDG_CONFIG_HOME}/nvm")"
[ -s "$NVM_DIR/nvm.sh" ] && . "$NVM_DIR/nvm.sh"
This command has no output but sets the NVM_DIR environment variable and sources the NVM script to make it available in your current session.
3. Check whether the Node Version Manager installation was successful:
nvm --version
The image shows you have installed NVM 0.40.1, the latest stable version at the time of writing this article.
Note: Check out the differences between NVM and NPM.
Step 2: Install Node.js and npm
1. Once you have installed NVM, download Node.js and npm with the command:
nvm install node
2. Check the installed version:
node --versionYou can also check npm's version with:
npm --versionOptional: Install Multiple Node.js Versions Using NVM
Node Version Manager allows you to install and manage multiple versions of Node.js on your system.
To install a specific version of Node.js, use the following command:
nvm install 22.12.0
To install the latest Long-Term Support (LTS) version of Node.js, run:
nvm install --lts
In this case, the LTS version is already installed.
To see a list of all installed Node.js versions, use nvm with ls command:
nvm ls 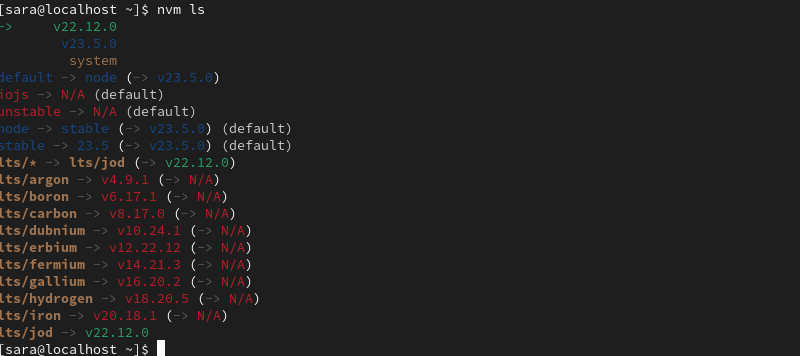
This displays all versions installed via NVM, along with the default and currently active versions.
To switch to another version of Node.js you have already installed, use the command:
nvm use 23.5.0
Install Node.js Development Tools
Many npm packages, especially those with native bindings, require tools like gcc, g++, and make command to compile code during installation. These tools are part of the Node.js Development Tools and usually come preinstalled on your system or were installed as dependencies when setting up Node.js.
In case they are not present, install Node.js development tools and libraries with:
sudo yum install gcc g++ makeConclusion
This guide explained how to install Node.js and npm on your CentOS or Rocky Linux system using the NodeSource repository or NVM.
Next, learn how to update the Node.js version on different operating systems.