Webmin is a web-based tool for managing Linux and other Unix-based systems. It provides a graphical interface that allows users to configure system settings, view logs and emails, manage user accounts, and perform other administrative tasks.
Learn how to install Webmin on Ubuntu and manage your system from a single dashboard.

Prerequisites
- A system running Ubuntu (see how to install Ubuntu 22.04 or Ubuntu 24.04).
- A user account with sudo privileges.
- Access to the terminal window.
Install Webmin on Ubuntu
There are two ways to install Webmin on Ubuntu:
- Setup script. The official Webmin setup script automatically adds the necessary repositories and GPG keys and installs the required dependencies.
- Manual installation. Users have full control over the installation process and can choose which repositories and dependencies to install.
Method 1: Install Webmin using Setup Script
To install Webmin via the official setup script:
1. Access the terminal and use the curl command to download the script:
curl -o webmin-setup-repos.sh https://raw.githubusercontent.com/webmin/webmin/master/webmin-setup-repos.sh
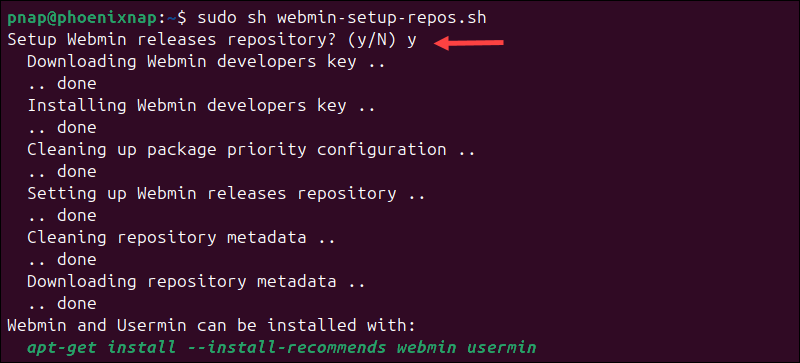
2. Execute the script to set up the repository:
sudo sh webmin-setup-repos.shPress y and then Enter to set up the Webmin releases repository.
3. Use the following command to install Webmin and the recommended dependencies:
sudo apt install --install-recommends webmin -y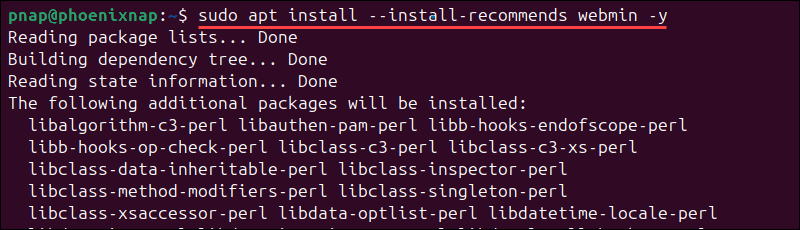
4. Check the status of the Webmin installation:
sudo systemctl status webmin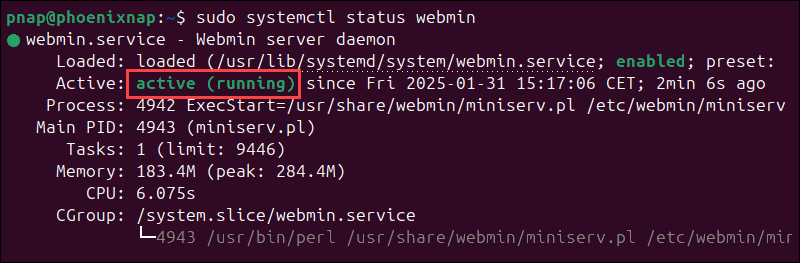
The system confirms the service is active (running).
Method 2: Install Webmin Manually
Before installing Webmin on Ubuntu, you need to update the package list and install the necessary dependencies manually.
1. Open a terminal and enter the following command to update the package list and upgrade installed packages:
sudo apt update && sudo apt upgrade -y2. Install the following dependencies to streamline the Webmin installation:
sudo apt install software-properties-common apt-transport-https -y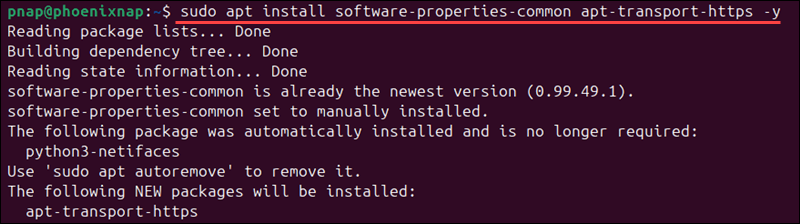
These dependencies allow you to retrieve packages from external sources, such as the Webmin repository.
3. Use the wget command to add the Webmin GPG key:
wget -qO- http://www.webmin.com/jcameron-key.asc | sudo tee /usr/share/keyrings/webmin-key.asc > /dev/nullThe command does not provide any output.
4. Use the echo command piped with the tee command to display the repository entry in the terminal and write it to the /etc/apt/sources.list.d/webmin.list file:
echo "deb [signed-by=/usr/share/keyrings/webmin-key.asc] http://download.webmin.com/download/repository sarge contrib" | sudo tee /etc/apt/sources.list.d/webmin.list
5. Start the Webmin installation:
sudo apt install webmin -y6. Once the installation is complete, check the status of the Webmin service:
sudo systemctl status webminThe active (running) status confirms the service is functioning properly. Another method to confirm the installation is successful is to check the Webmin version:
dpkg -l | grep webmin
The Webmin version in this example is 2.202.
Configure Firewall
Webmin listens on port 10000 for incoming connections. You can use the Uncomplicated Firewall (UFW) tool to enable traffic through this port.
1. UFW is disabled on Ubuntu by default. To enable UFW, type:
sudo ufw enable2. Enter the following command to allow traffic through port 10000:
sudo ufw allow 10000/tcp
3. Check the firewall status to confirm the changes were applied:
sudo ufw status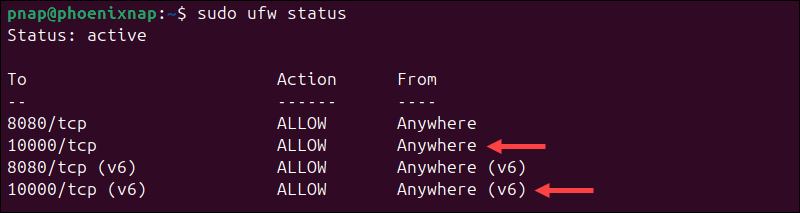
Access Webmin Dashboard
To access the Webmin web interface, you need to configure user login credentials:
1. Enter the following command to set the Webmin root user's password:
sudo /usr/share/webmin/changepass.pl /etc/webmin root [new_password]Replace [new_password] with the actual root user password you want to use.

Note: This method only works for existing users and cannot be used to create new users.
If you need help creating a password, check out our strong password ideas or try our free password generator.
2. Open a browser and enter the Webmin server IP address and port number in the URL:
https://[webmin_server_IP]:10000If Webmin is installed on the local machine, use localhost instead:
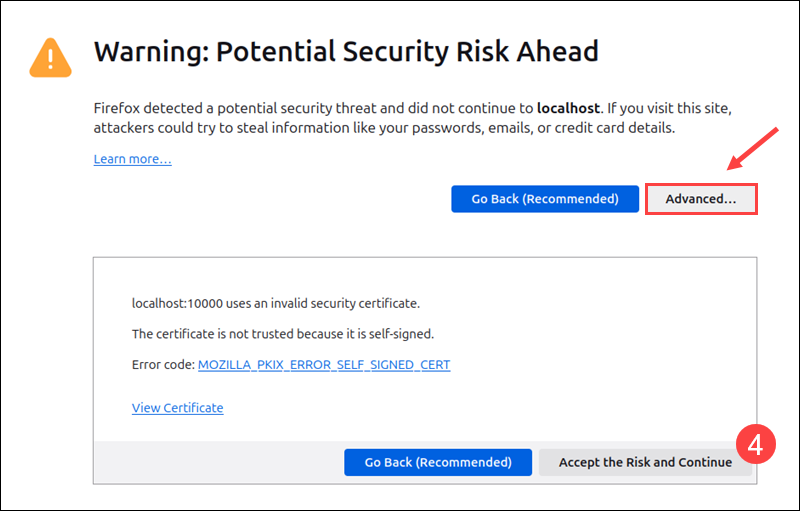
https://[localhost]:100003. Webmin generates a self-signed SSL certificate, which browsers do not recognize. Even though the connection is secure, this may trigger a security warning.
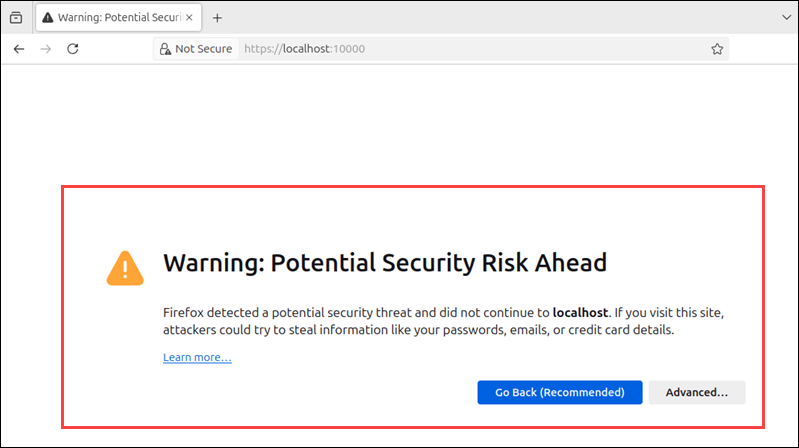
Note: To avoid this message in the future, replace the self-signed certificate with an SSL certificate issued by a certificate authority. This can be configured from the Webmin dashboard after logging in.
4. To proceed, click Advanced..., then Accept the Risk and Continue.
5. Log in using the root username and the password set up earlier.

The central pane in the Webmin dashboard provides an overview of CPU usage, memory status, disk space, and general system information.
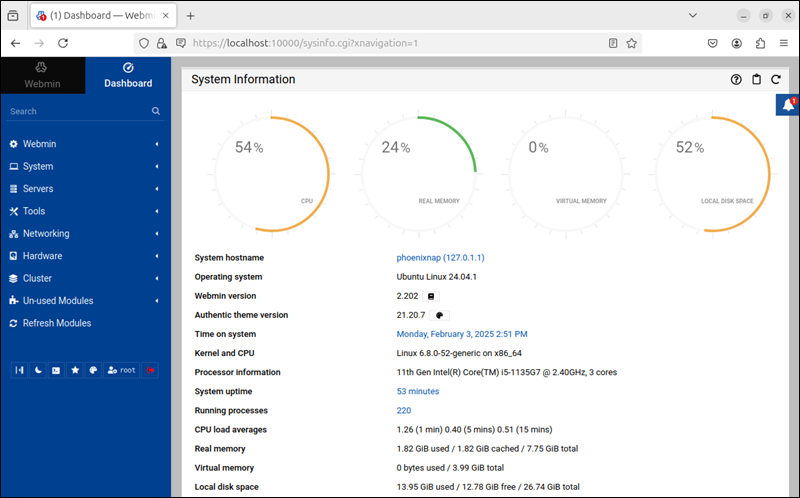
The navigation bar on the left side of the dashboard serves as a control panel. The range of options is impressive. Users can install and remove modules, manage user accounts, configure networking, set up cron jobs, and perform software updates from a single interface.
Conclusion
You have successfully installed Webmin on Ubuntu and have a fully functional and ready-to-use dashboard.
The Webmin interface can be used to enhance the security of your Ubuntu system. Master server hardening basics with our guide to server security.